.png)
Finding Your Envelope ID
When contacting the Verified Support Team or tracking specific transactions, you may be asked to provide your Envelope ID. This unique identifier helps us locate your exact transaction instantly.
You can find your Envelope ID in three different locations depending on your role in the transaction.
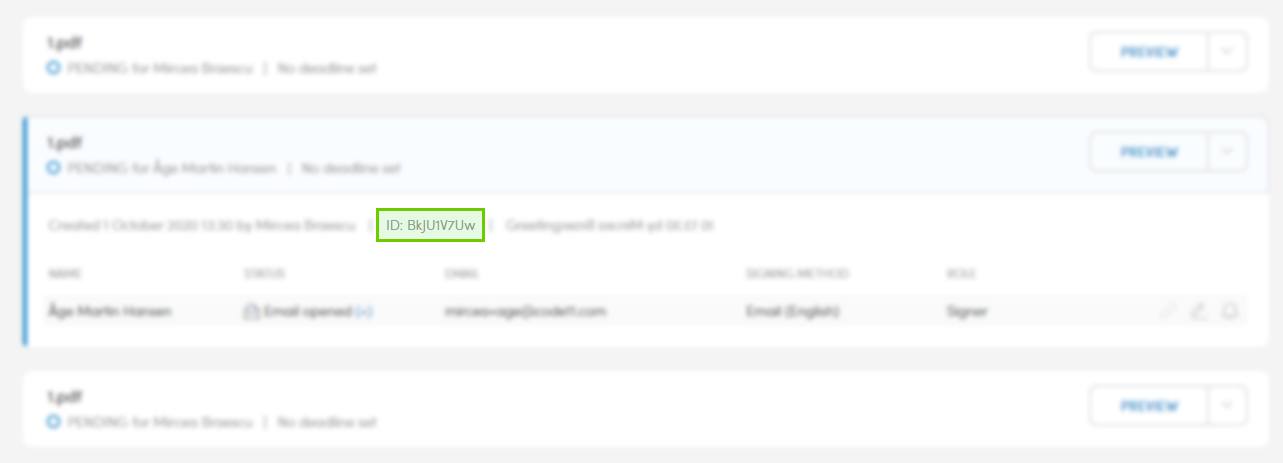
1. In Your Dashboard or Archive (For Senders)
If you are the person who created and sent the envelope, the quickest way to find the ID is within the platform:
Log into your Verified account and go to your Dashboard or Archive.
Locate the transaction in question.
Tip: Use the search bar to filter by the recipient's email address or the creation date to narrow down your results.
Click on the transaction to expand it—the Envelope ID will be displayed in the document overview panel.
2. In the Email Footer (For Recipients & Signers)
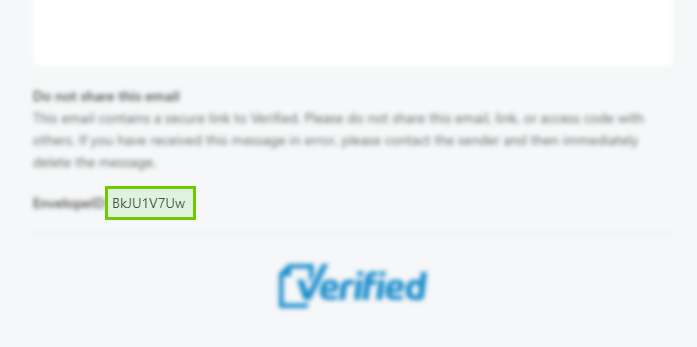
If you received a document notification email from Verified, the ID is often printed directly in the message:
Open any email notification related to the transaction.
Scroll to the very bottom (the footer) of the email to locate the ID string.
Availability | Restrictions |
Envelopes sent after September 26, 2020 automatically include this in the footer. | This ID may not appear if the sender is using a highly customized, non-standard email template. |
3. On the Last Page of the Signed Document
If the signing process is already complete, the ID is permanently embedded into the security audit trail of the document itself:
Open the finalized, signed PDF document.
Scroll to the very last page (the verification/certificate page).
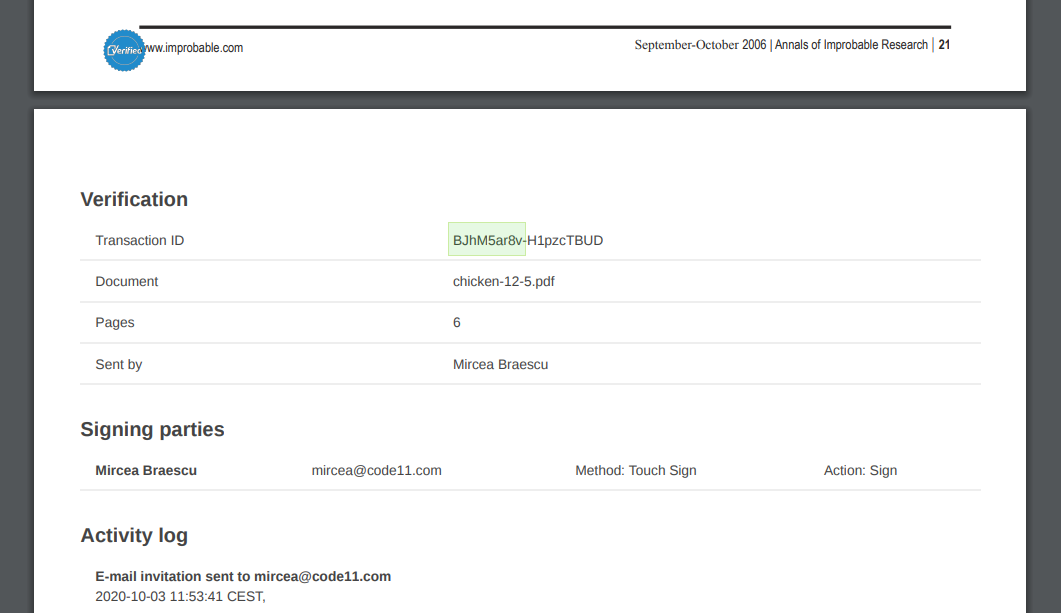
Locate the Transaction ID, which always follows this exact format:
$$\text{AAAAAAAAAA-BBBBBBBBBB}$$
How to decode the Transaction ID:
AAAAAAAAAA(The characters before the hyphen) = Your Envelope ID.
BBBBBBBBBB(The characters after the hyphen) = The individual Document ID.Example: If your document reads
ByDpHQIfC-123456789, your Envelope ID isByDpHQIfC.